Travel Photography Tips for Beginners: Capturing Stunning Landscapes
Travel photography is a captivating pursuit that blends the thrill of exploration with the art of storytelling through images. Capturing the essence of landscapes, whether it’s a serene mountain range or a bustling coastal view, offers a unique challenge and reward for photographers at all levels. For beginners, understanding the nuances of light, composition, and camera settings can transform ordinary photos into stunning works of art. Combining technical skills with an appreciation for the natural environment allows even novice photographers the ability achieve remarkable results.
Understanding Your Equipment
The first step in travel photography is becoming familiar with your equipment. It might be tempting to invest in the latest gear, but even basic cameras or smartphones can deliver exceptional results when used effectively. The key lies in understanding how your device works and experimenting with its settings.
For beginners, cameras with manual mode are particularly helpful as they provide greater control over shutter speed, aperture, and ISO. Shutter speed controls motion blur, aperture adjusts depth of field, and ISO determines the light sensitivity of your camera’s sensor. Familiarizing yourself with these settings will help you adapt to various lighting conditions and achieve your desired effects.
If you’re using a smartphone, apps such as Lightroom Mobile or ProCamera allow for manual adjustments similar to those on DSLRs. Accessories like clip-on lenses or portable tripods can further enhance your capabilities without requiring a significant investment.
Practice is essential. Spend time shooting at different times of day and in various environments to understand how your equipment reacts to changes in light and movement.
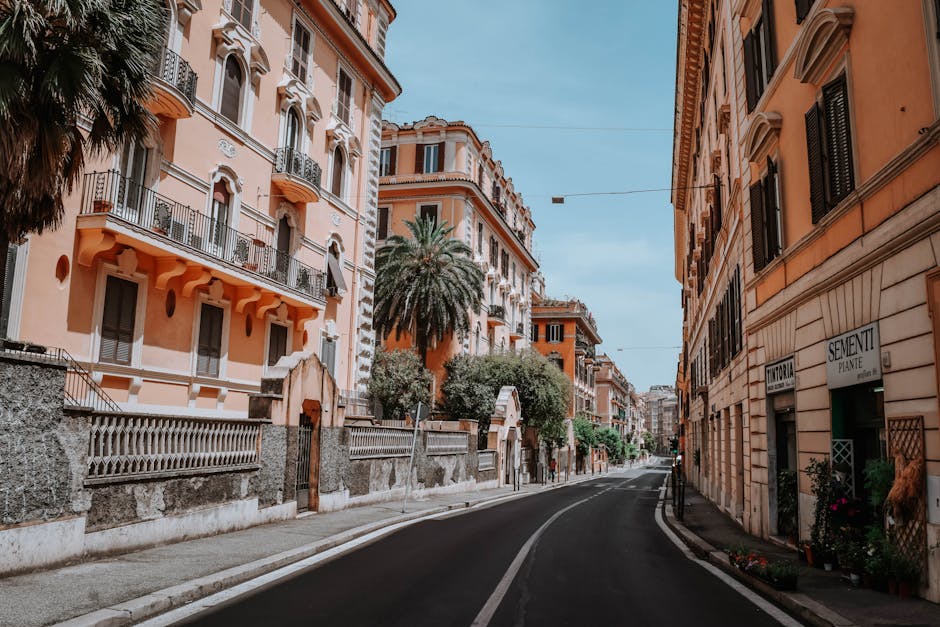
Mastering Composition Techniques
A well-composed photo draws the viewer’s eye into the scene and conveys a sense of story or emotion. One fundamental principle in composition is the rule of thirds. By mentally dividing your frame into nine equal parts using two horizontal and two vertical lines, you can position key elements along these lines or at their intersections to create balance and interest.
Leading lines are another powerful tool. Roads, rivers, fences, or pathways naturally guide the viewer’s gaze towards a focal point in your image. Similarly, framing elements like archways or tree branches can help draw attention to your subject while adding depth.
Don’t shy away from experimenting with perspective. Shooting from high vantage points or ground level can offer fresh angles that make familiar scenes feel new. Many stunning landscape shots are achieved by simply changing where you position yourself relative to the scene.
Lastly, negative space (or areas within the frame that lack detail) can be used strategically to emphasize your subject. This technique often works well in minimalist compositions or where the environment speaks volumes on its own.
Timing and Lighting
The quality of light significantly impacts landscape photography. Natural light varies throughout the day and creates different moods depending on its angle and intensity. Photographers often refer to "golden hours," which occur shortly after sunrise and before sunset when sunlight is soft and warm. This period is ideal for capturing landscapes with rich colors and delicate shadows.
On overcast days, the diffused light eliminates harsh shadows, making it easier to capture evenly lit scenes, a great option for photographing waterfalls or forests. Conversely, midday sunlight tends to be harsher but can be creatively utilized by seeking out reflective surfaces like water or experimenting with silhouettes.
Beyond time of day, weather conditions also play an integral role. A stormy sky adds drama while fog lends mystery; learn to adapt quickly and use these natural elements to enhance your shots rather than avoid them.
- Use a tripod for stability during low-light conditions or long exposures.
- Consider using filters such as neutral density (ND) filters to manage bright light during daytime shoots.
- Experiment with bracketing shots at different exposures for high dynamic range (HDR) photography.
Patience is key, waiting for perfect lighting often rewards you with breathtaking results that no amount of post-processing can replicate.
Post-Processing Essentials
Editing is an integral part of travel photography but should enhance rather than overpower your images. Tools like Adobe Lightroom or Capture One offer robust features for adjusting exposure, contrast, highlights, shadows, colors, and more while preserving image quality.
For beginners starting out with free alternatives such as Snapseed or GIMP can also yield impressive results once you’ve learned the basics of editing workflows.
| Editing Tip | Purpose |
|---|---|
| Cropping | Remove distractions and improve composition by focusing on key elements. |
| Adjusting White Balance | Correct color casts caused by lighting conditions. |
| Tweaking Shadows/Highlights | Add depth by balancing brightness across different areas in your photo. |
| Saturation/Vibrance Control | Enhance colors subtly without overdoing it for natural-looking results. |
Avoid heavily relying on filters that distort reality, authenticity resonates more strongly than overly manipulated images. When editing landscapes specifically aim to retain detail across both shadows (dark areas) highlights (bright areas).
This article was generated by AI